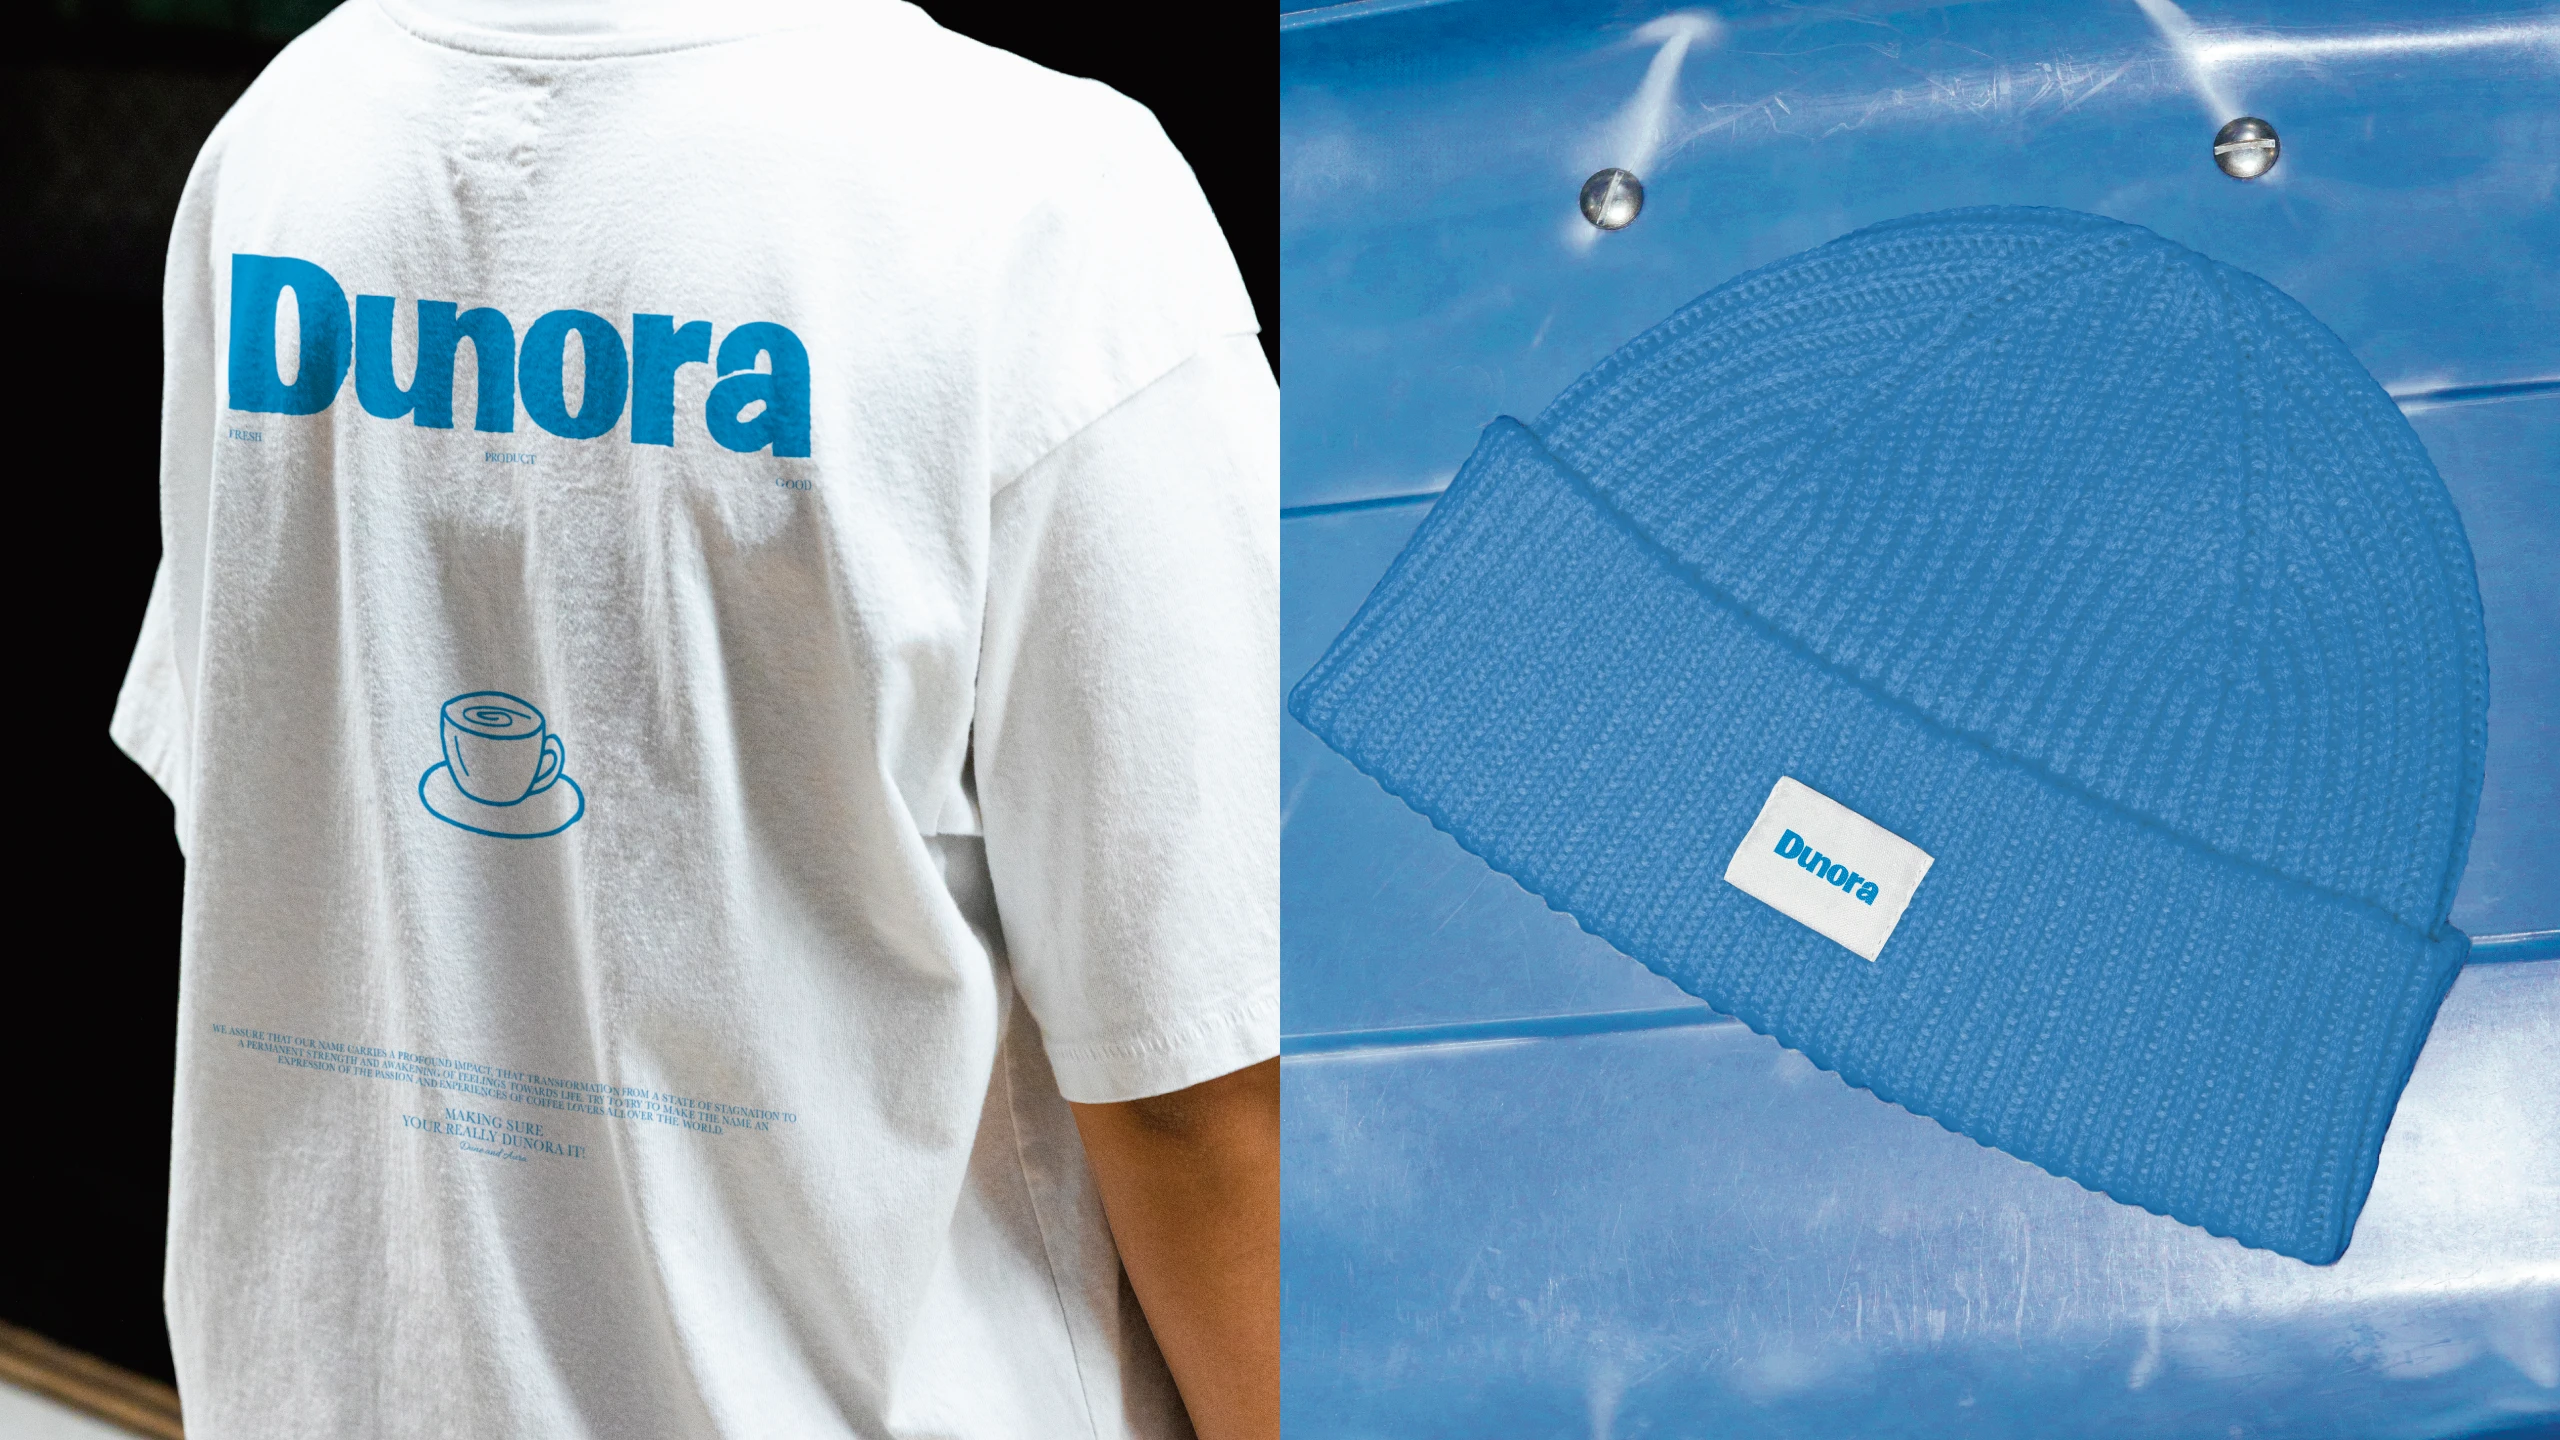
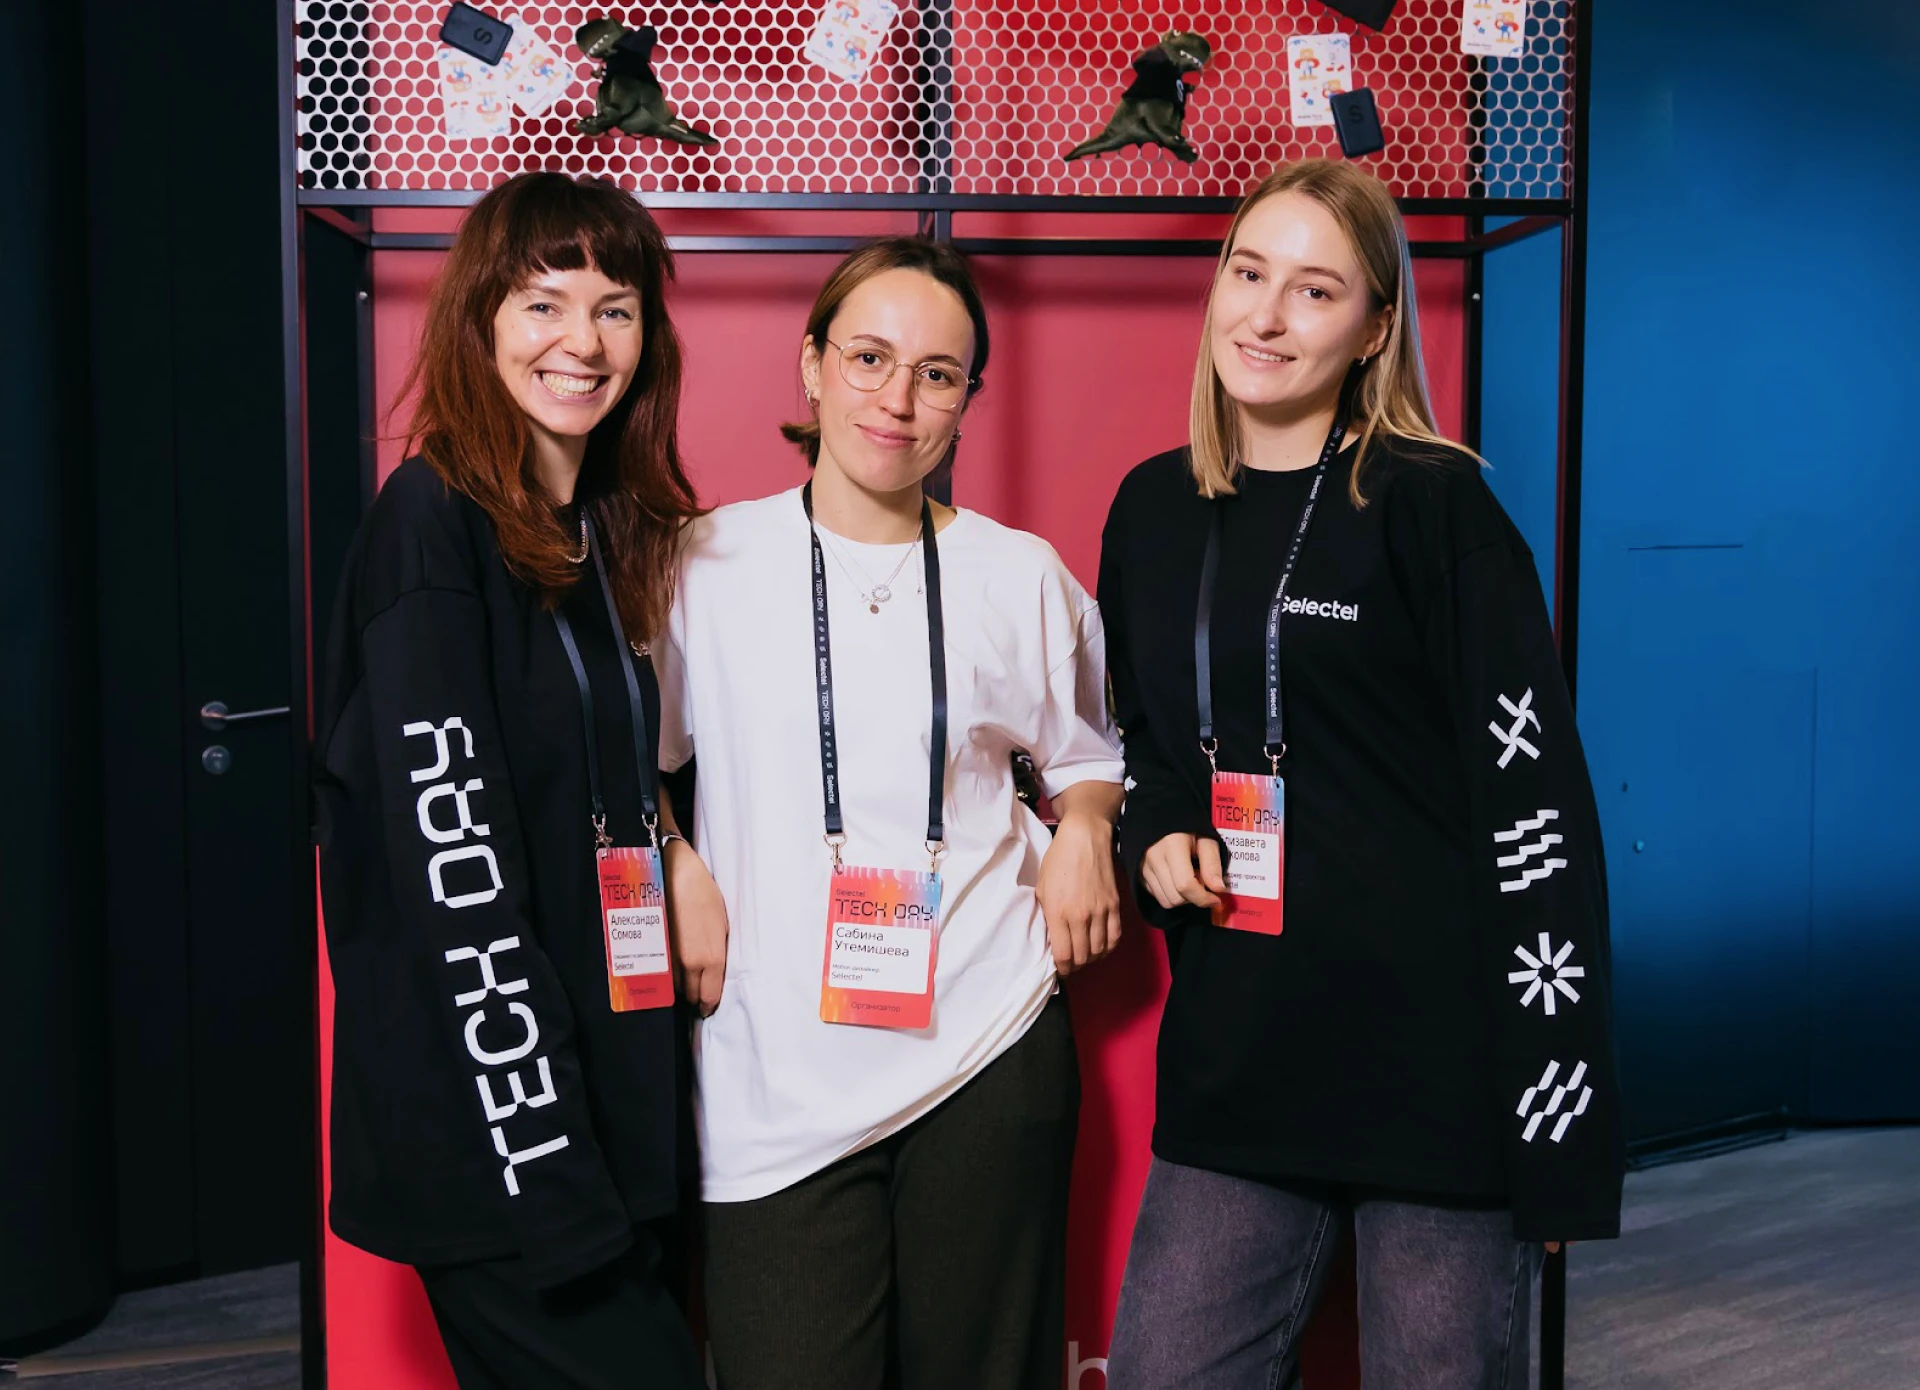
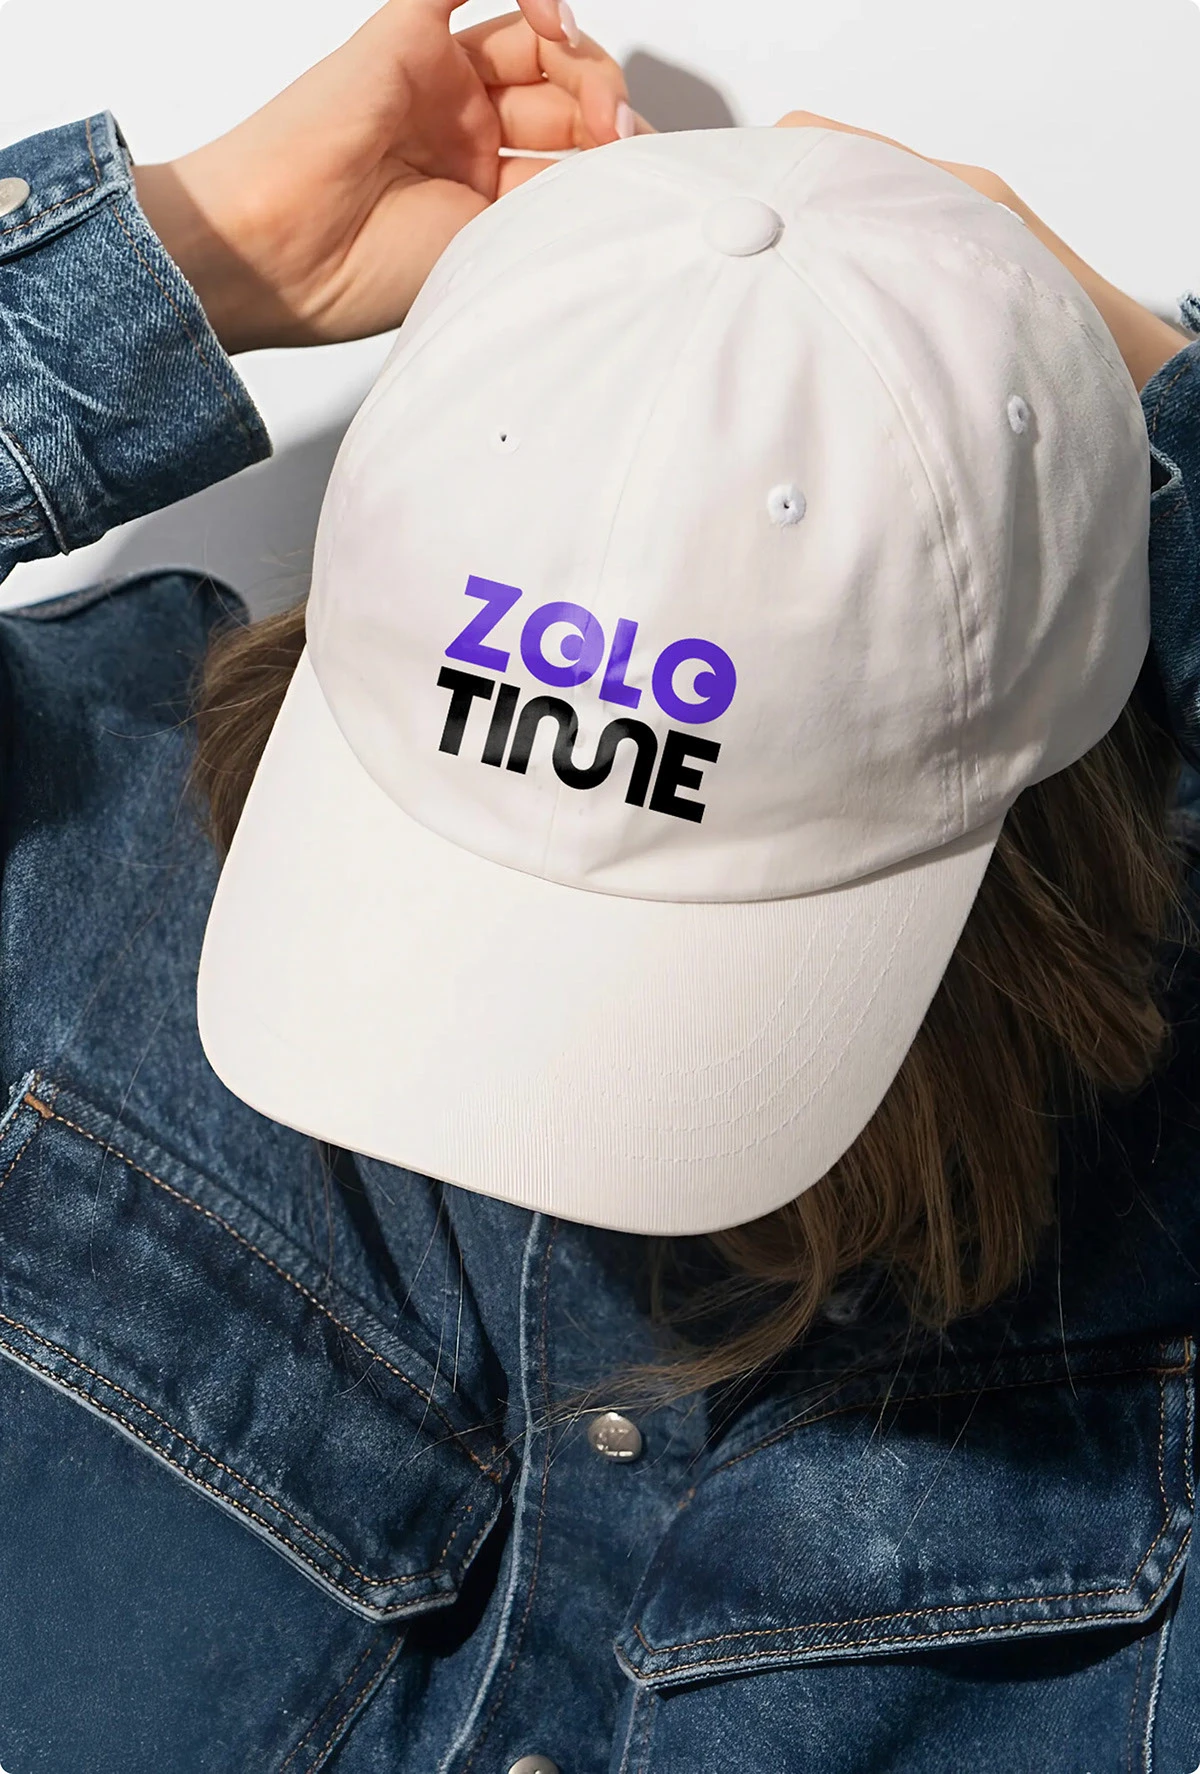
Why branded merchandise still outperforms most marketing channels
Most marketing channels hold attention for a few seconds: a display ad, a skimmed email, a social post that drops out of the feed within hours. Branded merchandise stays in use for much longer. A well-chosen hoodie stays in rotation for months. An insulated tumbler sits on a desk every morning. A quality tote bag travels through airports, coffee shops, and grocery stores, carrying your brand into environments no ad placement can reach.
The data reflects this. According to the Advertising Specialty Institute, promotional products generate more impressions per dollar than nearly any other advertising medium, and recipients keep functional branded items for an average of eight months. Because the item stays in use, the recipient sees the brand repeatedly over that period, which digital channels rarely achieve.
Impressions are only part of the value. A well-chosen, high-quality item is received as a gift, and recipients tend to associate that experience with the brand that sent it, which an interruptive ad does not do. When planned intentionally, branded merchandise supports hiring, onboarding, sales enablement, customer loyalty, events, and long-term brand consistency. Programs work best when each order is tied to a defined audience, a budget, and a measurable business outcome.
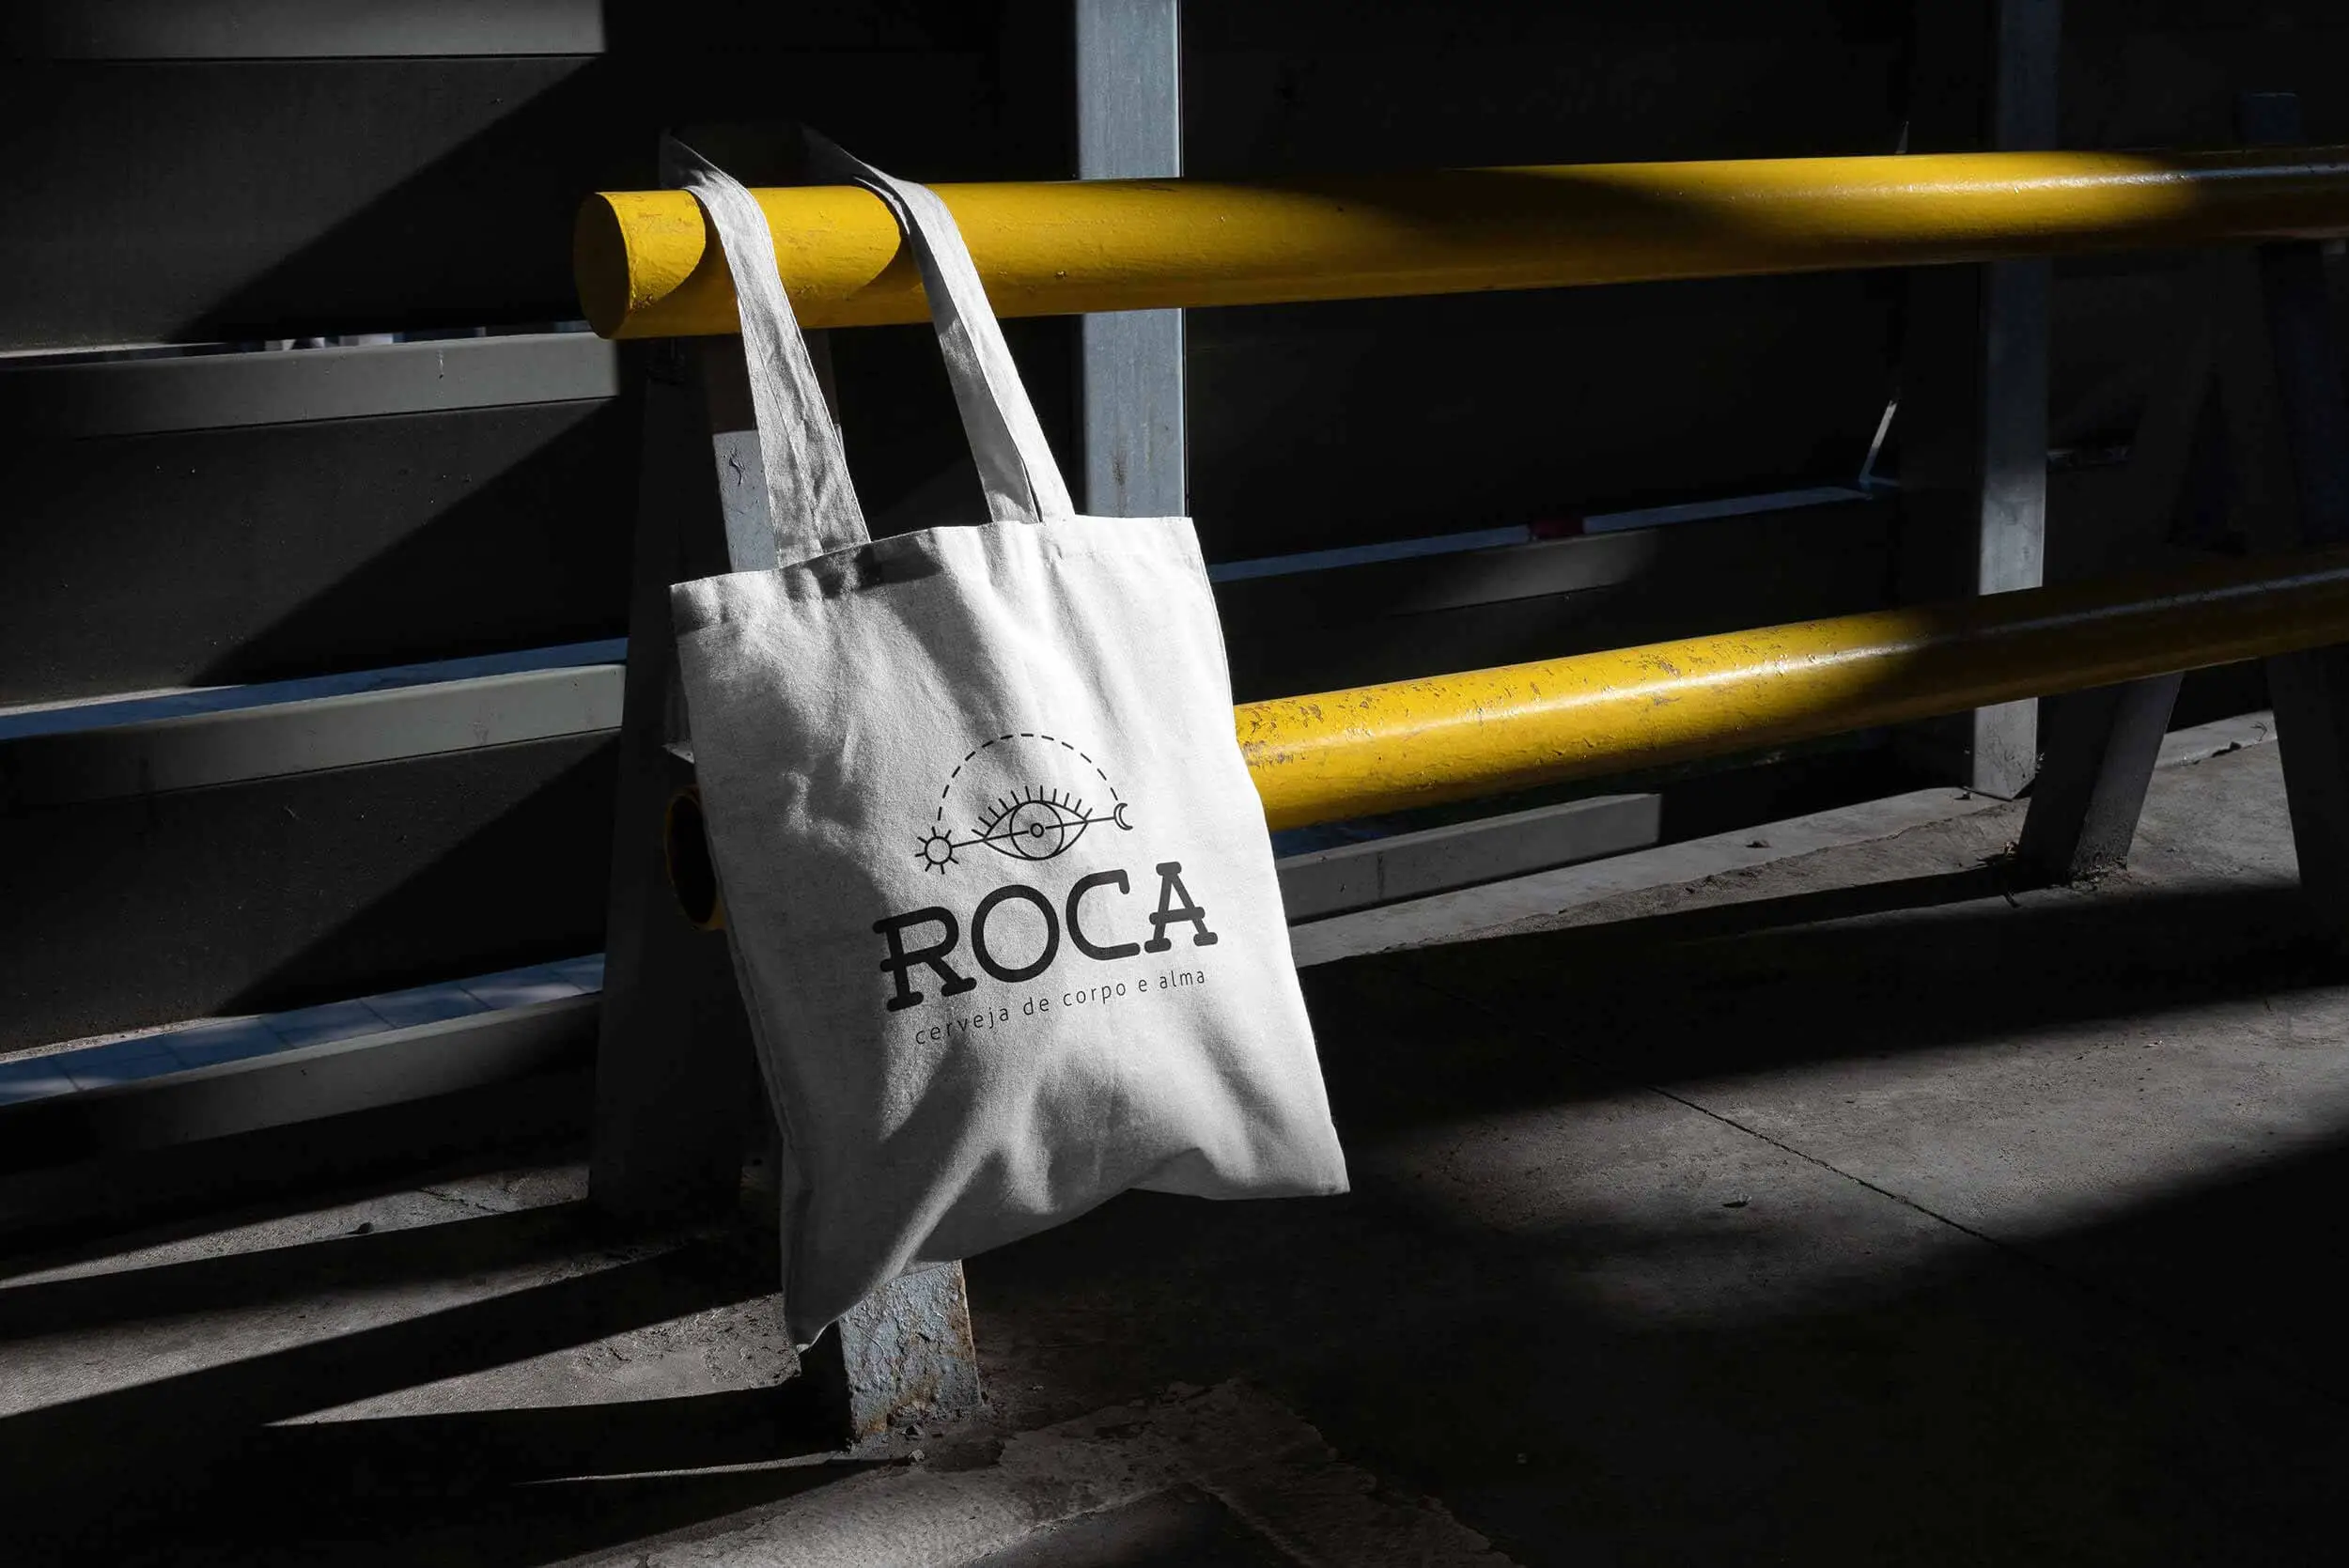
Who needs a branded merchandise program (and who doesn't)
Branded merchandise programs deliver the most value to organizations that meet at least two of these three conditions: they have recurring moments where physical branded products support a business objective, they distribute products to more than one audience or channel, and they operate at a volume where coordination, consistency, and cost control matter.
That describes most companies above fifty employees. HR teams shipping onboarding kits. Marketing teams activating conference booths. Sales teams sending client gifts to close or renew deals. Leadership teams reinforcing culture across distributed offices. Each of these use cases benefits from a structured approach to sourcing, branding, and fulfillment rather than ad-hoc ordering from whichever vendor appears first in a search.
Where merchandise programs deliver less value is when the volume is genuinely low (fewer than a handful of orders per year), when there is no defined audience or moment, or when the budget only supports products that will be discarded within a week. Cheap pens and flimsy lanyards rarely justify the operational effort. If the budget per item is too low to buy something a recipient would keep, the program is unlikely to produce a return. Spending more per item on fewer, well-chosen moments usually performs better than spreading the same budget across many low-cost items.
For teams building corporate gifting programs, employee welcome kits, or event and conference swag strategies, branded merchandise is a recurring operational need that benefits from a defined process and budget.
Building your merchandise strategy before opening a catalog
The most common mistake in branded merchandise is starting with products instead of strategy. Someone opens a catalog, gravitates toward items they personally like, and orders without asking who the recipient is, what the moment is, or what outcome the spend should drive. This tends to leave unused inventory and makes it harder to show leadership that the spend was worthwhile.
A better approach starts with three questions. First, who is receiving this product? Employees at onboarding have different expectations than prospects at a trade show booth. Executive clients expect a different quality tier than interns at a summer event. Defining the audience determines price point, product category, and branding approach.
Second, what is the moment? A welcome kit arrives during a high-emotion window when a new hire is forming first impressions. A conference giveaway competes with dozens of other vendors for attention. A year-end client gift lands during a season saturated with corporate packages. Each moment has its own constraints around timing, unboxing context, and what the recipient expects.
Third, what does success look like? For onboarding kits, success might be new hire satisfaction scores and first-quarter retention. For event merch, it might be booth traffic and post-event meetings booked. For client gifts, it might be renewal rates or referral activity. Defining the metric before selecting products ensures every dollar spent connects to an outcome someone actually tracks.
Answering these three questions in writing before opening a catalog helps prevent overbuying and keeps each product tied to a specific purpose.
How to choose the right products for your audience
Product selection has the largest effect on whether recipients keep and use what you send. The main guideline is to choose products people will use regularly. Practical items outperform novelty items in almost every product category. A premium notebook that lives on a desk for six months creates more brand exposure and goodwill than a novelty gadget that gets tossed in a drawer after one use.
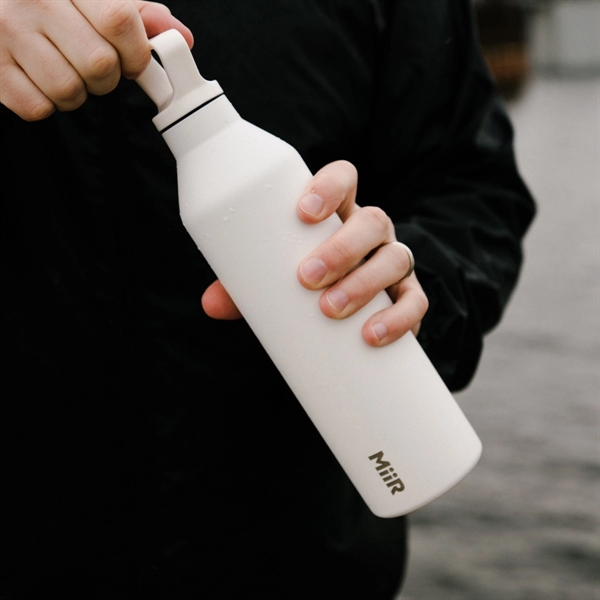
For employee programs, prioritize practical daily items. Premium hoodies and quarter-zips that people wear outside of work. Insulated water bottles that travel between home, office, and gym. Quality notebooks, wireless chargers, and laptop sleeves that integrate into daily routines. The aim is products people keep using well after the first week.
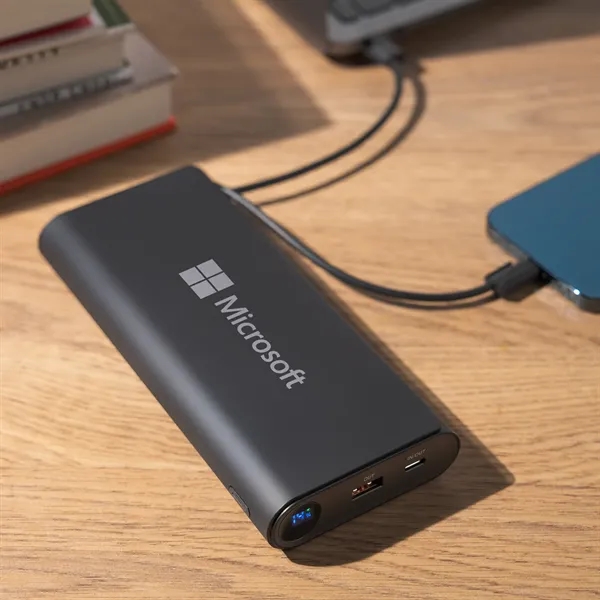
For event and conference activations, prioritize portability and immediate usefulness. Tote bags that attendees carry throughout the event (and for weeks afterward). Compact tech accessories like portable chargers or cable organizers. Drinkware that replaces the disposable cups at every conference coffee station. If someone has to check a bag or wait in a shipping line to take your product home, they are much less likely to take it.
For client and prospect gifting, prioritize perceived quality and subtlety. Executive-tier drinkware, premium apparel with restrained branding, or curated gift sets that feel personally selected rather than mass-produced. The best corporate gifts are memorable without relying on heavy branding.
Evaluate every product against five practical filters: durability (will it last long enough to justify the investment), brand compatibility (does the product style match your brand personality), decoration suitability (can your logo be applied cleanly on this material and shape), shipping efficiency (is it lightweight and compact enough to ship economically), and total landed cost (what is the all-in price including decoration, packaging, and fulfillment). If a product fails two or more of these filters, skip it regardless of how trendy it appears.
Decoration methods: matching technique to product and brand
The decoration method you choose affects how your brand looks, feels, and lasts on every product. A method that does not suit the product or material can make a good-quality item look low-quality.
Screen printing remains the most cost-effective method for larger apparel runs with bold, limited-color designs. It delivers vibrant, durable prints on cotton and cotton-blend fabrics and scales well as order quantities increase. For runs above seventy-two units with one to four colors, screen printing usually offers the best balance of quality and cost.
Embroidery creates a premium, textured finish that communicates quality immediately. It is the standard choice for hats, polos, outerwear, and any product where a tactile, dimensional logo matters. Embroidery costs more per unit but delivers a perceived quality upgrade that justifies the premium in most corporate and client-facing contexts. For a detailed comparison, see our screen printing versus embroidery buyer's guide.
Direct-to-garment (DTG) printing excels for detailed, multi-color designs on smaller runs. It allows photographic-quality prints without the setup costs of screen printing, making it ideal for limited-edition drops or designs with complex gradients and fine detail.
Heat transfer and DTF (direct-to-film) support vibrant, multi-color designs across mixed fabric types. These methods have improved significantly in durability and wash performance, making them a viable option for mid-range programs that need color flexibility without screen printing minimums.
For hard goods, laser engraving creates a permanent, elegant mark on metal, glass, and wood surfaces. Pad printing handles curved surfaces and multi-color applications on drinkware, tech accessories, and plastic items. UV printing delivers full-color, high-resolution graphics on rigid surfaces.
The right choice depends on your product material, design complexity, order quantity, and desired aesthetic. Explore the options and see samples on the decoration methods overview.
Brand consistency across products and teams
Maintaining a consistent brand across dozens of products, multiple decoration methods, and several ordering teams takes more planning than many companies expect. Thread colors do not perfectly match Pantone swatches. Laser engraving on brushed metal looks different than the same logo screen printed on cotton. A logo that works beautifully at digital resolution can lose legibility when embroidered at two inches wide.
The solution is a merchandise-specific brand guide that goes beyond your standard digital brand guidelines. Include approved logo files optimized for each decoration type: vector files with proper knockout for screen printing, digitized stitch files for embroidery, high-resolution rasters for DTG, and engraving-ready single-color versions for hard goods. Specify minimum logo dimensions by decoration method. Define color formulas not just in Pantone but in thread color equivalents and ink matching references.
Include placement guidelines with product-specific templates showing acceptable logo positions, sizes, and exclusion zones. Add a gallery of approved and rejected examples so anyone ordering on behalf of the brand can make confident decisions without requiring design team review on every order.
Teams that solve this well typically centralize their brand assets in a single accessible location where anyone placing an order can download the correct files and reference the current guidelines. This reduces revision cycles, keeps vendors from interpreting the logo differently, and ensures the brand looks intentional whether it appears on a hoodie, a ceramic mug, or a backpack. Platforms like Brandmerch let teams store approved logos and brand settings in one place, so every mockup and production order starts from the right foundation.
Setting realistic timelines and managing inventory
Poor timeline planning is a common cause of rushed orders, expedited air shipping, and quality compromises. The typical branded merchandise production cycle includes product selection and quoting (two to five business days), design and proof approval (two to five business days), production (seven to twenty business days depending on method and quantity), and shipping (three to ten business days depending on destination and method).
That means a standard order placed today might arrive in three to six weeks. Complex orders with custom packaging, multiple decoration methods, or international shipping can extend to eight weeks or longer. Adding buffer time to each milestone helps avoid the cost and quality compromises that come with rush production.
For recurring programs like employee onboarding kits or quarterly client gifts, the most effective approach is maintaining rolling inventory of core items. Keep evergreen products like branded hoodies, notebooks, and drinkware in stock at a fulfillment location. Reorder when inventory hits a predefined threshold rather than waiting until stock runs out. This eliminates the emergency ordering cycle that inflates cost and reduces quality.
For seasonal or event-specific campaigns, work backward from the event date. Identify the latest acceptable delivery date, subtract shipping time, production time, and proof approval time, then add a five-business-day buffer. That calculation gives you the date by which product selection and design must be finalized. If that date slips, one of the later steps will have less time than it needs.
An effective inventory policy follows a simple framework: stock evergreen SKUs continuously, run limited campaigns as pre-order or made-to-order, and retire low-velocity items quarterly. This keeps carrying costs under control while maintaining availability for your most important programs. Understanding transparent pricing structures helps teams forecast costs accurately across these different inventory models.
Distribution models that scale: bulk, direct-ship, storefronts
How merchandise reaches recipients affects cost, waste, and the recipient's experience as much as the product itself. A distribution model that does not fit the program can cause delays, leftover stock, and missed deliveries. There are three primary models, and most mature programs use a combination of all three.
Bulk shipping sends inventory to a single location: your office, a warehouse, an event venue. This is the most cost-efficient method per unit and makes sense for events, office stock rooms, and centralized distribution points. The tradeoff is that someone at the destination has to manage receiving, storage, and local distribution.
Direct-ship (individual fulfillment) sends products directly to each recipient's address. This is essential for remote and distributed teams, customer gifting, and any program where recipients are geographically dispersed. Per-unit shipping costs are higher, but the model eliminates the need for internal storage, manual repackaging, and local distribution logistics. For teams shipping custom branded hoodies or welcome kits to remote employees, direct-ship is typically the only practical option.
Storefront (on-demand redemption) gives approved recipients access to a branded online store where they select products, choose sizes, and enter their own shipping information. This model solves the sizing problem for apparel, reduces waste from unwanted items, and gives recipients a sense of choice that improves satisfaction. It also shifts fulfillment to a per-order basis, eliminating the need to pre-purchase inventory for every possible size and style combination.
The storefront model has become increasingly popular for employee rewards, new hire programs, and sales team incentives. Instead of guessing what each person wants, you curate a collection and let them choose. An employee merchandise store handles the catalog, ordering, fulfillment, and tracking in a single workflow, replacing spreadsheets and manual coordination with self-service ordering.
Most scaling teams land on a hybrid approach. Bulk inventory for events and office stock. Direct-ship for remote onboarding and client gifts. Storefronts for ongoing programs where choice and self-service matter. The right mix depends on your team structure, recipient geography, and how much operational overhead you want to absorb internally.
Measuring ROI by campaign type
Branded merchandise ROI can be measured, but each campaign type needs its own metrics. A single blended ROI figure across all merch spend can hide campaigns that are performing well and lead to budget cuts that the results do not support.
Employee onboarding kits. Measure new hire satisfaction survey scores (specifically questions about feeling welcomed and prepared), first-quarter retention rates compared to pre-program baselines, and social sharing of unboxing moments. Replacing an employee who leaves in the first ninety days costs far more than a quality welcome kit, so even a small retention improvement can produce a meaningful return.
Event and conference merchandise. Track booth traffic volume, badge scans or lead captures, post-event meeting conversion rates, and pipeline value attributed to event contacts. A/B test product offerings across events when possible: compare booth performance when offering premium items versus standard giveaways. In most cases, fewer higher-quality items perform better than large quantities of low-cost giveaways.
Client and prospect gifting. Monitor response rates to gift-accompanied outreach versus ungifted outreach, deal velocity for gifted prospects, renewal rates for gifted accounts, and referral activity from recipients. The SoulCycle custom signature scent case study shows how creative, brand-aligned merchandise can raise engagement and loyalty.
Internal culture and recognition. Use pulse surveys to measure perceived company investment in culture, track program participation rates, and monitor whether branded items appear organically in team photos, social posts, and video calls. When employees voluntarily wear and use branded products outside of work, it is a good indication that they value the items.
Across all campaign types, build a post-campaign review habit. Document what you sent, to whom, at what cost, and what happened afterward. Over two or three cycles, patterns emerge that help you shift budget from low-impact categories to high-performing ones.
Common mistakes that undermine merch programs
The most costly merchandise mistakes are usually small and repeated, and over time they make the program's budget harder to defend. These are the most common.
Buying for internal taste instead of recipient preference. The marketing team loves the minimalist design. The sales team wanted something bolder. Leadership preferred a different color. If the recipient is a twenty-five-year-old software engineer who wears athleisure every day, what that person will wear matters more than any of these internal preferences. Product selection should be driven by recipient research and usage data, not internal committee preferences.
Oversized logos that make products unwearable. A logo that spans the entire chest of a t-shirt makes it a shirt most people will only wear at company events. Subtle, well-placed branding creates products people actually integrate into their wardrobes, generating far more impressions over time than an aggressive logo that stays in a drawer.
Underestimating shipping complexity. International shipments involve customs declarations, duties, restricted materials, and delivery timeframes that vary wildly by country. Domestic shipments to individual addresses require accurate data collection and address validation. Each gap in that process can lead to a failed delivery, which wastes the product cost and gives the recipient a poor experience of the brand.
Skipping quality checks. Approving a product from a catalog photo without a physical sample often leads to surprises, so the extra time for a sample is usually worth it. Colors shift between screens and physical products. Fabric weight and hand feel are impossible to evaluate digitally. Decoration quality varies between vendors even on identical blanks. Always review a production sample before committing to a full run.
Treating every campaign identically. A conference booth activation has different product, quantity, and timing requirements than an executive client gift program. Applying the same playbook to both results in either overspending on events or under-delivering on high-stakes gifts. Build campaign-type templates with appropriate defaults for budget, product tier, timeline, and distribution method.
Failing to document what worked. Without post-campaign documentation, teams restart from zero every quarter. The institutional knowledge of which products performed well, which vendors delivered reliably, and which campaigns generated measurable results is lost when it lives only in individual memory. A simple shared document that captures campaign details and outcomes gives each new campaign a record of what worked before.
Building a repeatable merch playbook
Organizations that get consistent results from branded merchandise usually follow a repeatable process, in which each campaign produces data that improves the next one.
Step one: define your campaign types. Most organizations run three to five recurring campaign types: onboarding kits, event activations, client gifting, internal recognition, and seasonal campaigns. Create a template for each type that specifies default budget range, product categories, decoration methods, timeline milestones, distribution model, and success metrics.
Step two: centralize your assets and vendors. Maintain a single source of truth for approved brand files, preferred vendors, negotiated pricing, and product catalogs. When a new campaign launches, the team should not be starting vendor research from scratch. They should be selecting from a pre-vetted roster with established pricing and quality expectations. Many teams consolidate this into a platform that handles sourcing, branding, and fulfillment in one place, eliminating the spreadsheet-and-email coordination that slows down every order.
Step three: standardize your ordering workflow. Define who can initiate orders, who approves spend, who reviews brand compliance, and who manages fulfillment logistics. Unclear ownership is a common reason campaigns stall between approval and delivery. A lightweight workflow with defined roles and escalation paths keeps programs moving without requiring executive involvement in every decision.
Step four: capture and apply learnings. After every campaign, record what was ordered, actual cost versus budget, delivery performance, recipient feedback, and measured outcomes. Review this data quarterly. Identify which product categories and vendors consistently deliver strong results and which consistently underperform. Adjust templates accordingly. Over three to four cycles, this review process produces a playbook suited to your specific audiences and use cases.
Step five: scale with confidence. Once your playbook is validated, expanding to new campaign types, new audiences, or higher volumes becomes a matter of applying proven templates rather than reinventing the process. New team members can execute campaigns using documented workflows. Budget discussions can focus on where to adjust spend, because historical data shows which campaigns produce a return.
Organizations that run merchandise as a repeatable, measured system tend to get more value from the same spend than organizations that simply spend more. Whether you are launching a first program or restructuring an existing one, the steps are the same: define the audience and goal, choose products people will use, follow a consistent ordering workflow, and measure results by campaign type.
Ready to build or upgrade your merchandise program? Explore the product catalog, set up a company store, or review pricing to see how the platform supports every stage of the process.